Setting Up Your Podcast Studio
Three years into my podcasting journey, I set myself the goal of improving the audio quality. I did this several ways by adding furnishings to my home podcast studio to absorb sound and investing in a higher-quality microphone and accessories. As a result, there's a marked difference in the audio quality between seasons one to three of the TESOL Pop podcast and the following seasons due to changes I made to my home studio.
In this blog, I'll share the thinking behind my changes and purchases to level up my home studio and the impact it has had.
Why does audio quality matter?
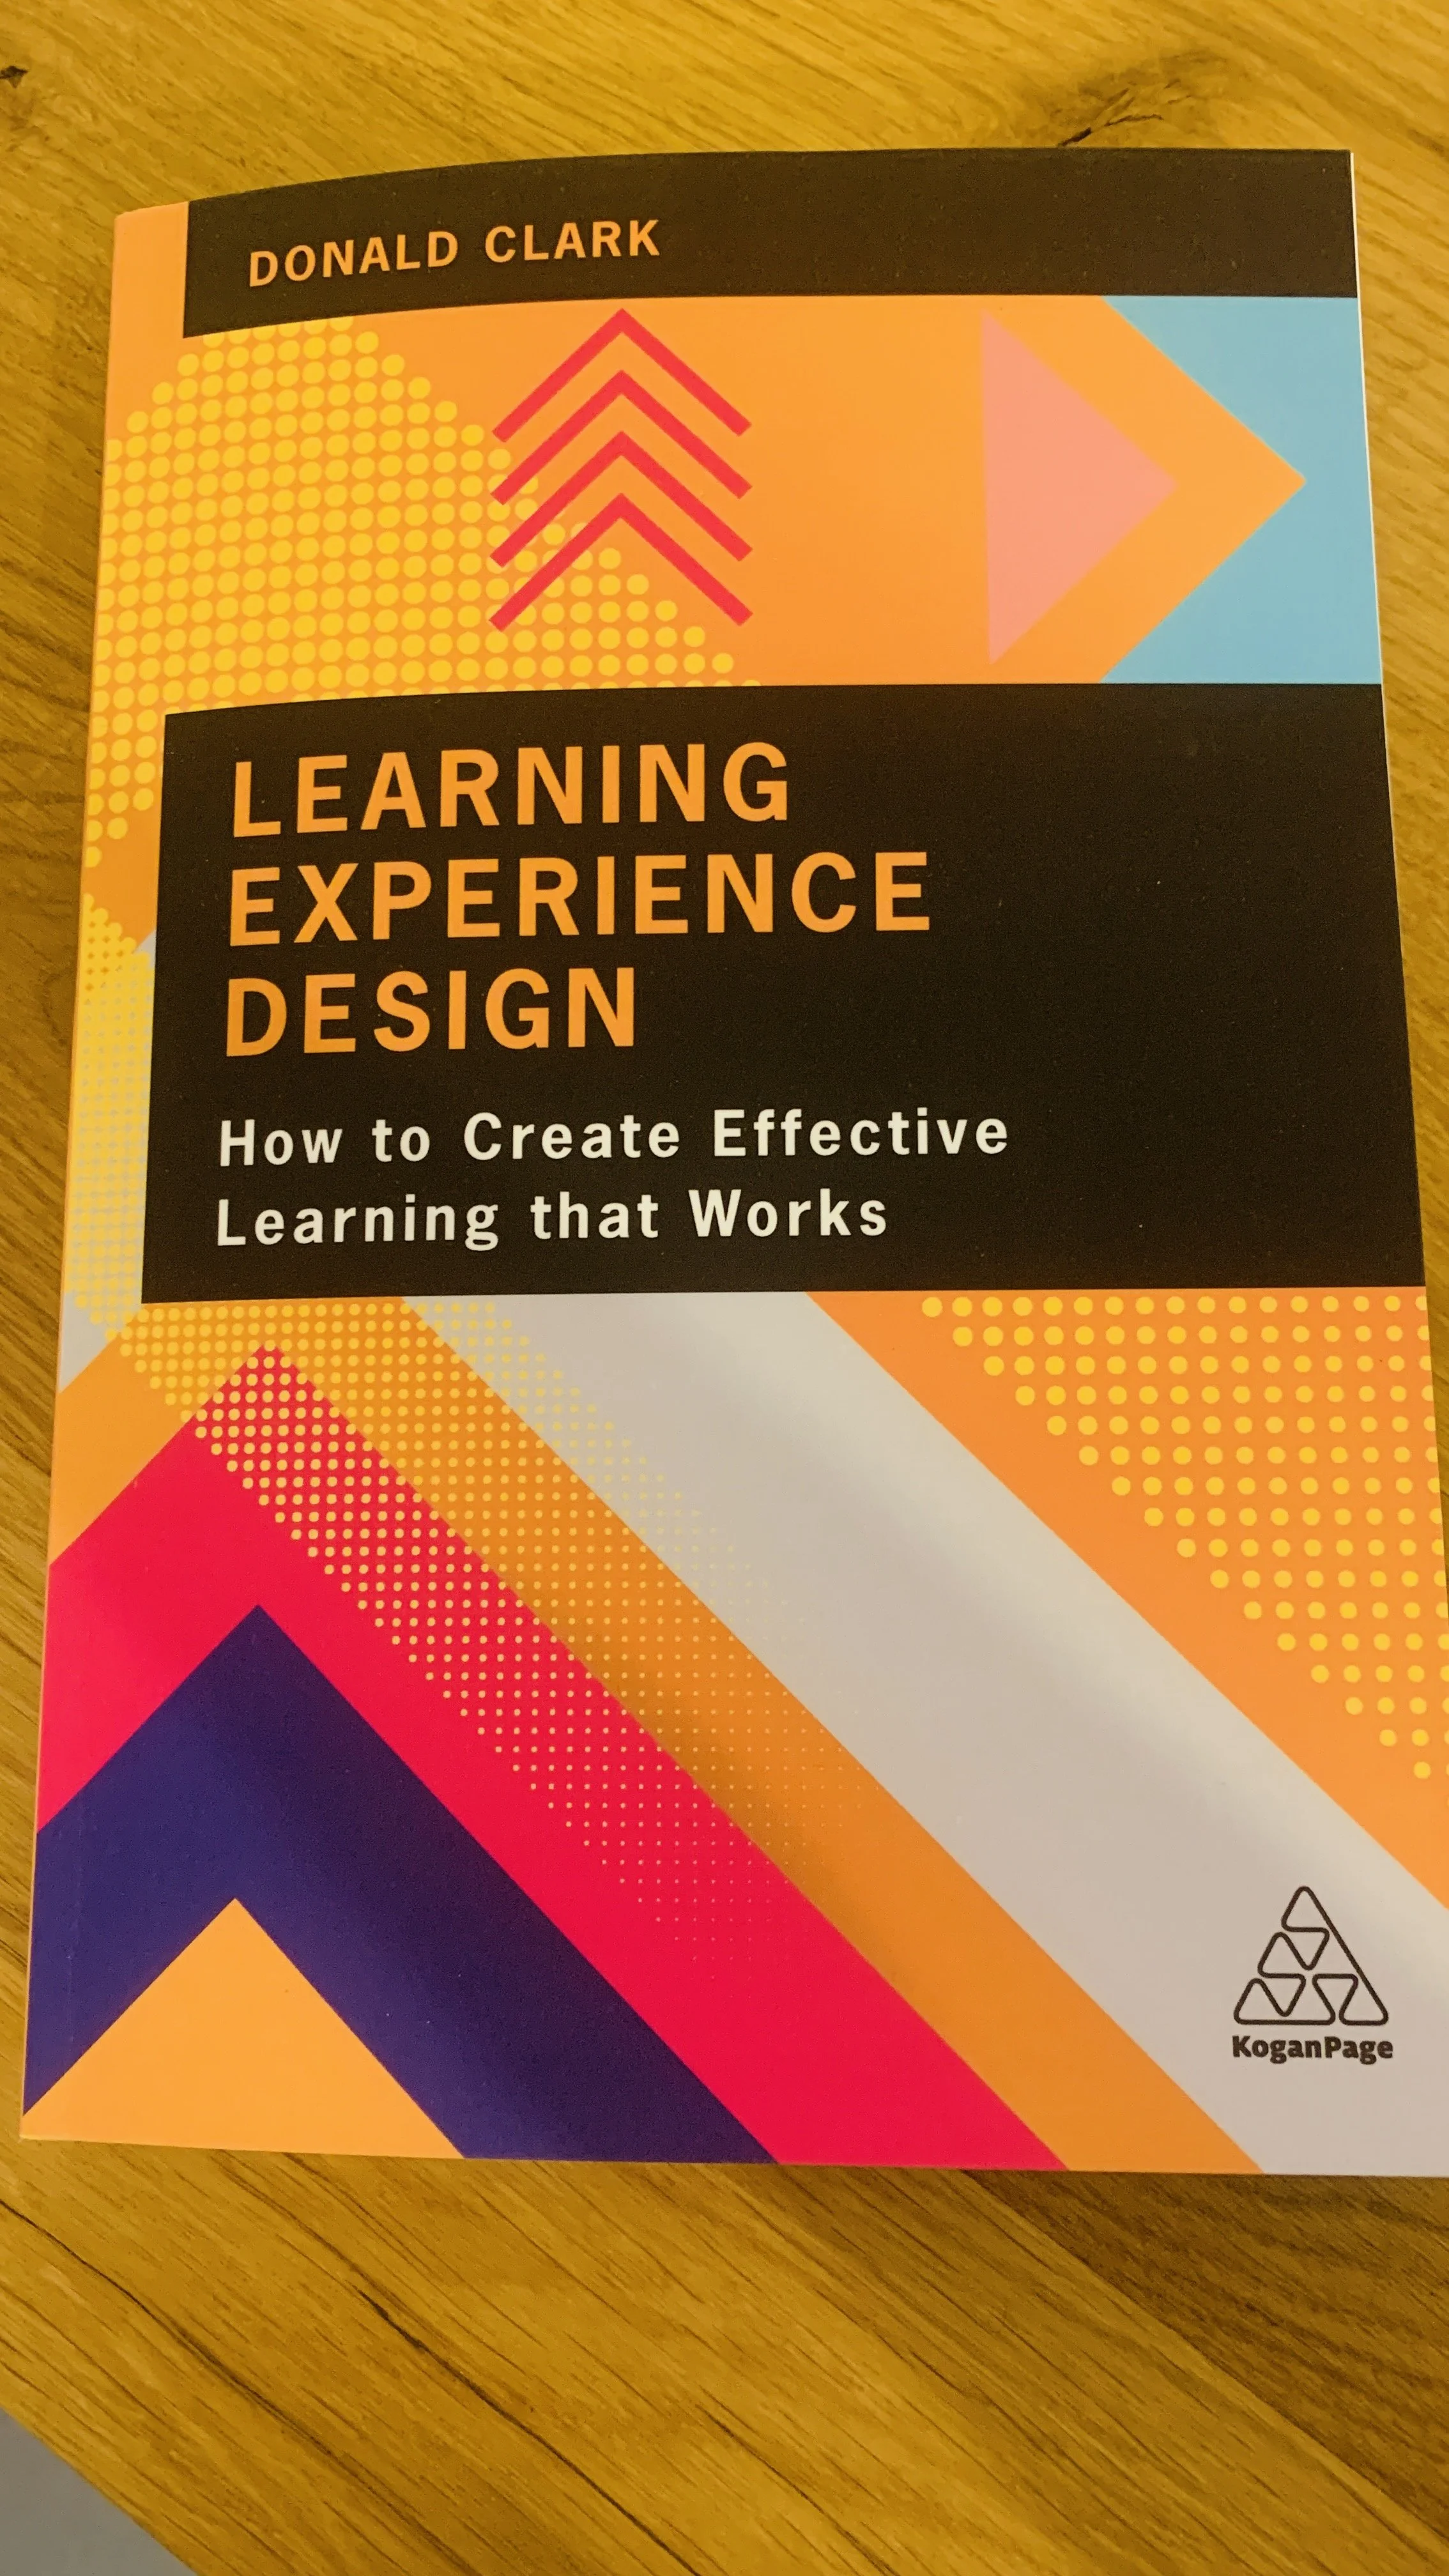
I was skimming through Donald Clark's Learning Experience Design when I came across this quote:
“Poor quality audio has a significantly detrimental effect on learning, lowering retention...Our auditory systems are less forgiving and expect high-fidelity audio, as if delivered by a person speaking in front of you.”
Quality audio is a non-negotiable
While I had thought about audio quality and listener retention, seeing it written made it stick in my mind; my podcast listeners were leaving episodes early because they were straining to hear what was being said.
If I wanted to attract more listeners and increase retention, I needed to improve the audio quality. Moreover, enhancing the quality of the recording space and the audio I captured would mean less time spent treating audio tracks in editing.
So what changed?
The Recording Space
Where we record is as important as the technology we use to capture and edit conversations. A small, quiet room with soft furnishings, such as sofas, cushions, rugs, and books, is excellent because these furnishings help absorb sound. This helps to reduce echo and make it sound more like you are sitting across from your listener in the room with them.
You can go further by purchasing acoustic panels and curtains that help absorb even more sound. These furnishings are becoming more available, with retailers like IKEA introducing a range of noise-reducing furnishings.
As I record podcasts and videos in my home studio, I must balance sound quality and visual appearance. You may find yourself in a similar situation if you are using your home studio for multiple purposes. Testing different setups to find what works best for you is a good idea.
The Microphone and Accessories
There are lots of microphones to choose from that range from tens to hundreds of dollars. When I started podcasting, we used what we could access and purchased a Blue Snowball microphone. We used the Blue Snowball microphone for seasons one and two of TESOL Pop, and the audio is markedly different compared to season seven.
While a higher-performing microphone would have captured better quality audio in the early seasons of TESOL Pop, it would not be able to compensate for the lack of soft furnishings in the rooms and the fact we shared a microphone.
No matter the microphone, the space and position of the speaker are crucial. Alongside optimising your recording space, you want to position yourself close to the microphone to reduce echo further.
Which microphone did I choose?
After setting up my home office, I noticed that there was still an echo despite my efforts to add furnishings to absorb sound.
Investing in a higher-quality microphone to capture my voice more clearly made sense. I also wanted a microphone compatible with accessories that would let me move it closer to me.
I opted for the RØDE NT-USB microphone for my initial home studio set-up:
Connection to Computer or Docking Station
As I did not have an audio desk in 2021, I needed a microphone that could connect to my laptop or the docking station on my computer.
Accessory Options and Compatibility
I wanted to stabilise my microphone and adjust the height, so I bought the accompanying adjustable stand and movable arm.
Fitted Pop Shield
A pop shield helps filter out the air blasts that accompany certain sounds in our speech during recording. For example, it can help filter the plosive 'p' and 'b' sounds, thus providing a better listening experience.
Simple Controls
The microphone I chose was easy to use, with simple controls to adjust the volume and balance between my microphone input and audio output. I record most of my episodes online with guests, so the headphone output and controls let me hear them.
Quality Audio
I researched microphones before purchasing. Reviews of the audio quality from fellow podcasters were positive, given the price, which is about mid-market.
These were my reasons for my podcast studio setup, but was it worth it?
How did these changes affect the audio quality?
I'm glad I decided to invest in equipment that better suited my needs. My audio recordings are higher quality, and I spend less time treating my audio in post-production. This has benefited my podcasting and enabled me to capture higher-quality audio in my live streams and videos.
The improved audio quality in the podcast is noticeable. To hear the difference, you only need to compare season one to season seven of the TESOL Pop podcast.
Improved audio quality has supported TESOL Pop's growth and listener retention. In December 2022, we had around 500 followers on major podcast platforms. A year later, this has more than doubled to over 1100 followers worldwide. Not bad for a niche podcast that started in a cupboard.
That's not to say that the audio is perfect. There's always room for improvement and new things to try; this makes podcasting so exciting and interesting.
Setting Up Your Podcast Studio
The RODE microphone and accessories have worked well for me. If this podcast home studio setup works for you, here is a list of the gear I use with notes on what I have since upgraded to.
RØDE NT-USB Microphone (I started with this mic and have since upgraded to the PodMic)
This is the microphone I currently use, which I mentioned in this blog and in the video below.
USB-C Docking Station
I use a docking station similar to this model to connect my RØDE NT-USB to my laptop and desktop with a USB-C connection. A docking station lets me plug multiple devices into my computer or laptop, such as my external hard drive.
RØDE DS1 Desktop Microphone Stand
This stand lets me adjust my microphone's height to position it closer to me. The base of the stand is weighted, which helps to stabilise the microphone.
RØDE PSA1+ Professional Studio Arm (Part of my current studio setup, 2026)
You can unclamp and move this accessory whenever you need to. The fixture is a C-Clamp, so it requires no drilling or screws.
RØDE PodMic USB (Part of my current studio setup, 2026)
A dynamic broadcast microphone that has both USB and XLR connectivity, which is ideal for podcasting, streaming, music and content creation. Like the NT-USB and NT-USB+, the PodMic USB is compatible with the DS1 Stand and PSA1+ Studio Arm.
RODE NT-USB+
This comes with a USB-C connection and is compatible with computers, tablets and smartphones with a USB-C connection.
RØDE NT-USB Mini Microphone
A compact version of the NT-USB. It also has a standard USB connection and is compatible with the abovementioned accessories.
To learn more about the links in this blog and how they work, check out my disclaimer here.
Would you like to set up your podcast studio at home?
My Podcast Pathfinder programme could be the perfect fit for you. To learn more about how I can help you set up and start podcasting to grow your community, check out the Podcast Pathfinder here.
Want to see what my podcast home studio looks like? Watch this video.
Looking for more resources to inspire you to record?